
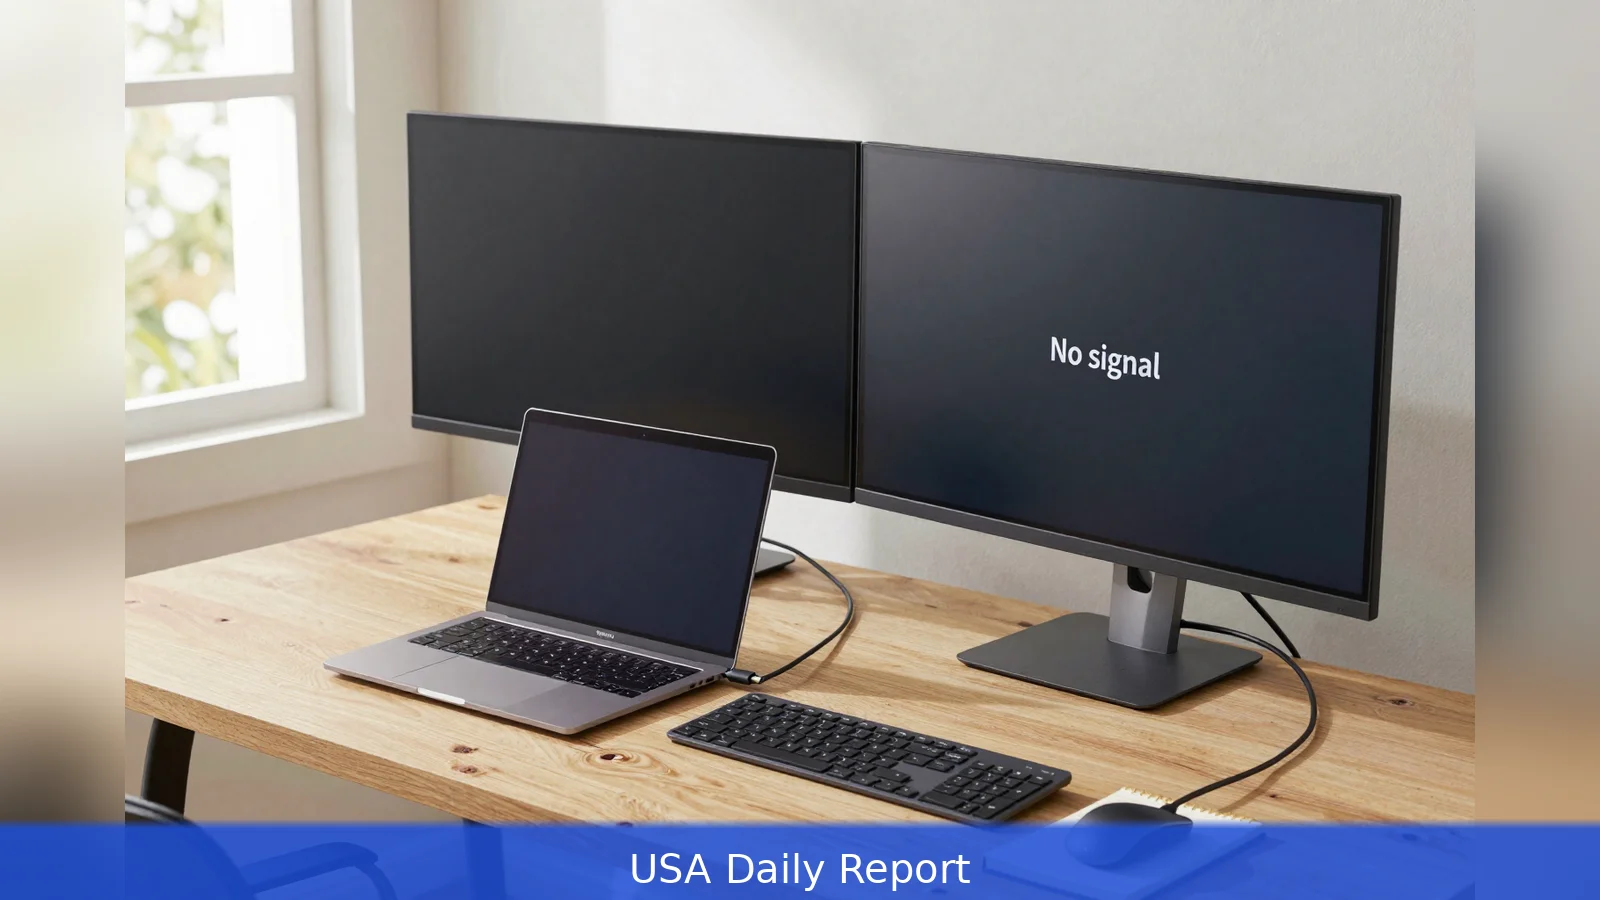
Two dark screens and a USB-C cable define the moment most people hit before a dual-monitor setup actually works. This guide walks Windows 11 users through the concrete steps you need at the desk: identify ports, pick the right cable, make the physical connections, then configure Settings to match the screens to your real-life layout. It also lists the short troubleshooting checklist that fixes most detection problems and a few fine-tune moves to keep windows and scaling behaving when you unplug and reattach displays.
A USB-C cable slides into the side of a closed laptop, the second monitor still dark as you flip its power button and hope Windows notices.
1. Check ports and plan your hardware
Before you touch a cable, look at your PC. On the back of a desktop or the side of a laptop, identify the physical ports you have available. Common ports are HDMI, DisplayPort, and USB-C that supports DisplayPort Alt Mode. You may also see older VGA or DVI ports on legacy machines. Make a quick inventory so you can choose the right cable and avoid surprises when you start plugging things in.
If your machine has a discrete graphics card, plan to use the card’s outputs rather than the motherboard’s ports. When a GPU is installed, Windows normally uses the card outputs for external displays. If you plug a monitor into the motherboard outputs instead, the display may not behave as expected or may not be driven by the discrete GPU.
Rank your cable choices by capability: DisplayPort is the best option when you want high refresh rates or high-resolution panels. HDMI is a solid general-purpose choice that works for most monitors and TVs. USB-C can carry video, but only when the laptop’s port explicitly supports video over that connector, often called DisplayPort Alt Mode.
VGA should be avoided unless you have no alternative, since it's analog and limits resolution and image quality.
If your laptop has only one video output, plan for a dock, a USB display adapter, or a monitor that supports daisy-chaining over DisplayPort. For more than two or three screens, think about a multi-monitor stand or mounting hardware; beyond two or three monitors the physical arrangement becomes the limiting factor, not the software.
2. Make the physical connections
Power both monitors and use the monitor menus to set each display to the correct input before you dive into Windows. If you prefer a cautious approach, shut down the PC, plug each monitor into the chosen output, set the monitor inputs, then power on the monitors and the computer in that order. For most laptops you can hot-plug an external display while the system is running, but a reboot often forces detection when Windows doesn’t notice a new monitor.
If a monitor remains dark after connecting, use a known-good cable to rule out a bad lead. Swap cables between the two monitors or try a spare you know works. Remove docks, dongles, or adapters and connect a monitor directly to the PC to isolate accessory failures. If the display works when connected directly but not through the dock, add accessories back one at a time until you find the failing item.
For setups that require multiple displays from a single connector, consider a powered docking station that exposes multiple video outputs or use monitors that support DisplayPort daisy-chaining. Keep in mind that docks and adapters introduce another variable, so they're a practical solution when you need more outputs but can complicate troubleshooting.

3. Configure Windows 11 Display settings
A USB-C cable slides into the side of a closed laptop, the second monitor still dark as you flip its power button and hope Windows notices. Once both displays are powered and connected, open Settings with Windows key plus I, then go to System, then Display. Click Identify to have Windows show large numbers on each screen so you can confirm which Windows recognizes as 1 and 2. This is the fastest way to match the software layout to the physical layout on your desk.
In the layout area, drag the numbered boxes so their on-screen positions match how the monitors sit on your desk. That movement controls how your pointer and windows travel between screens, and getting it right prevents the cursor from jumping to the wrong place when you move between displays. Under Multiple displays choose the mode you want: Extend these displays to create one expanded desktop, Duplicate these displays to mirror the same content, or select Show only on 1 or Show only on 2 to disable a display.
The Windows plus P shortcut opens the Project pane for a quick switch between PC screen only, Duplicate, Extend, and Second screen only. To set your primary display, click the numbered box for the monitor you want and check Make this my main display. After that, you can adjust scale and resolution per monitor in the same Display pane to keep text and apps readable and to match perceived sizes across different screen sizes.
To get the smoothest motion on fast panels, change the refresh rate per monitor from the Advanced display settings area. If color accuracy matters, set color profiles there as well. Windows 11 also has two useful toggles for frequent dockers: enable Remember window locations based on monitor connection so app windows return to their prior screens when you plug and unplug monitors, and turn on Minimize windows when a monitor is disconnected to keep the desktop tidy after detaching displays.
4. Troubleshooting checklist and common fixes
When Windows doesn't detect a display or the picture looks wrong, work through this short checklist to isolate the cause. First, confirm the monitor’s input selection matches the cable you used. It sounds basic, but monitors are often left on the wrong input after someone else moved cables.
Second, in Settings > System > Display use the Detect button to force Windows to search for connected displays. Third, swap the cable or try a different port on the PC. A marginal cable can cause intermittent detection, a jittery image, or a blurry result. Fourth, remove docks, adapters, and USB hubs from the chain and connect the monitor directly to the computer. If the display works when connected directly, add accessories back one at a time to find the failing item.
Fifth, ensure your cables are attached to the discrete GPU outputs when a dedicated GPU is present. If you plugged into the motherboard outputs instead of the GPU outputs, Windows may not use the expected display path. Meanwhile if you only have one physical video output on a laptop, try a powered docking station or a USB display adapter to add a second external monitor.
If you expected an extended desktop but see duplicated output, press Windows plus P and confirm Extend is selected. Finally, update your graphics drivers either through the GPU maker’s download site or via Windows Update. An outdated or corrupt driver is a frequent cause of detection failures and wrong configurations with multiple displays.
5. Fine tuning for productivity and ergonomics
Once both monitors are working, adjust per-monitor Scaling and resolution to keep text and UI elements the same perceived size across different-size screens. Doing this prevents tiny text on high-resolution panels or oversized UI on lower-resolution screens. If you do photo editing, video work, or gaming, set color profiles and refresh rates in Advanced display settings to match the monitor’s capabilities.
If you dock and undock frequently, enable the Remember window locations option so apps return to their previous screens automatically. Also look at the Minimize windows when a monitor is disconnected option to avoid a cluttered desktop after detaching an external display.
When stacking three or four displays physically, plan for a multi-monitor stand to position screens ergonomically and reduce neck strain. Also verify that your PC’s GPU and power delivery can handle multiple high-resolution outputs; some laptops or older GPUs may struggle to drive several 4K panels at the same time, and docks may have internal limits on combined output bandwidth.
Worked example: if you use a 15-inch laptop screen plus a 27-inch external monitor, set the external monitor to its native resolution and then increase the laptop scaling so UI elements read similarly on both. If you use a gaming monitor with a high refresh rate, change that panel’s refresh rate in Advanced display settings to the panel’s supported maximum to enjoy smoother motion where it matters.
Another small productivity move: make the external monitor your main display when you want taskbar shortcuts and new app windows to open on the larger screen. Leave the laptop screen as a secondary reference if you like to keep chat windows or documentation always visible while you work on the main panel.
Related Articles
- 10 Practical Tips to Stay Productive Working From Home
- 7 steps to pick Apple Maps or Google Maps for daily navigation
- 5 Steps to Compound Growth with AI Side Hustles
In short: - Pick the right port and cable, favoring DisplayPort for high refresh rates and HDMI for broad compatibility. Use the discrete GPU outputs if your PC has a separate graphics card. - Power and connect both monitors, set each monitor to the correct input, then open Settings > System > Display and click Identify to match on-screen numbers to physical screens. - Arrange the numbered boxes to match your desk, choose Extend or Duplicate, set Make this my main display, and adjust Scale, resolution and refresh rate per monitor. - If a display is not detected, swap cables, connect the monitor directly (bypass docks and adapters), press Detect in Display settings, and update your graphics drivers.
This article was created with AI assistance.


